This is quite easy. Firstly find your font. There are many sources, but two main ones if you are reluctant to spend money -
Typekit, although it seems free is part of your Creative Cloud subscription, so isn't really free. There are two blog posts covering the subject of 'free' fonts. This one and
another here on 'free' downloadable fonts.
Installing fonts from Typekit
If you have a
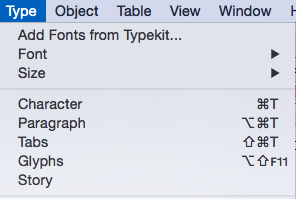
Creative Cloud subscription, then getting a well-made, complete font is easy. In your application go to"typeset" fonts
This will take you to the
Typekit page. Spend a happy time either looking for the font you need, or finding a font that a job needs to finish. For this demo I choose a distressed font.
Here it os Almag Rough, the font I choose. Clicking on this takes me to the product page...
Here's the font with it's properties listed. These are labels just like Blogger!
I now ask it to load the font. I get this screen that says "Sync Fonts" - Typekit fonts will disappear if I cancel my subscription.
Finally, this screen pops up to tell me that it's there. No need to restart the software, it's ready to go.
Here's the font in use in InDesign. Sharp-eyed students will recognise the worksheet.


No comments:
Post a Comment