 |
| I think this version is the best. In the end I did about twenty different versions. There's another one at the end of this. Instructions follow... |
So this is about creating the images you see here. The origin of tis one is a practical model I made for another student's show. The box is about 45mm wide, so if you're looking at this on a phone, it's about life size.
Here's how it was done:
Software: Adobe Illustrator, Photoshop. I assume you have some knowledge of these applications.
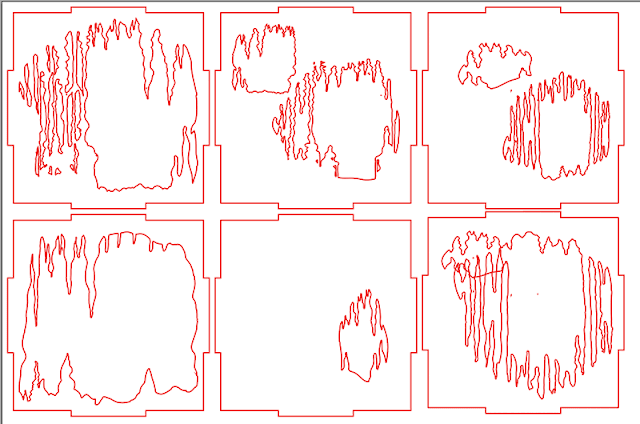 |
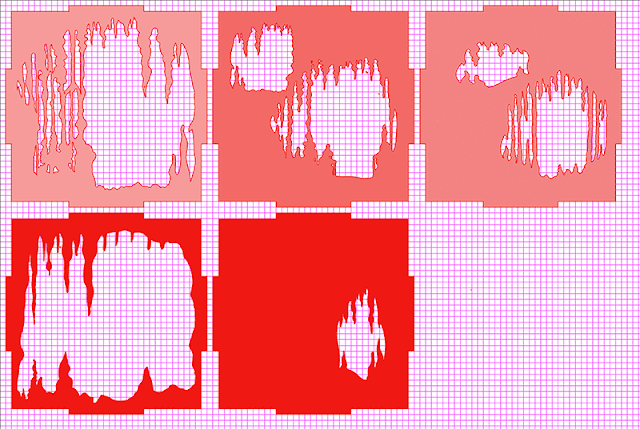
| So, this is the Illustrator file that I got ready for the Lasercutter. There's a bit more, there are just the faces and I didn't use the one bottom right in the end. The missing parts are the sides and the top and bottom. |
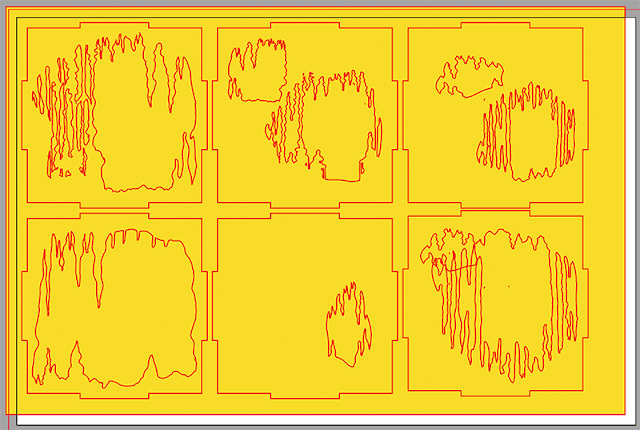 |
| So, the Laser cutter needs just outlines, no fills. It also doesn't like Illustrator's compound paths or other Postscript trickery, so to prep the file for the Lser cutter I get rid of all of those. Unfortunately, for the 3D image we do need 'real' holes in the illustration, so these have to be put in. What you are looking at here is a yellow layer put behind everything so I can see that these are holes and not just filled with white. |
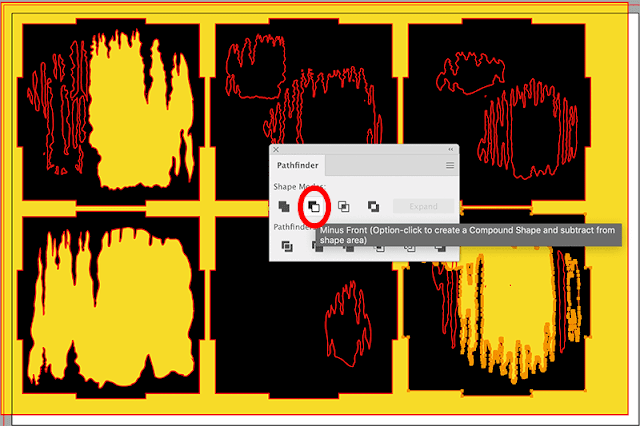 |
| So, the box shapes have been filled with black. (See bottom middle) the whole group have been stroked (outlined) in red so I can see them. I'm then selecting each element in turn and using the Pathfinder to take the small shape from the big shape. This cuts holes in the shapes. An alternative that sometimes works is making the whole thing a Live paint object and filling with nothing. |
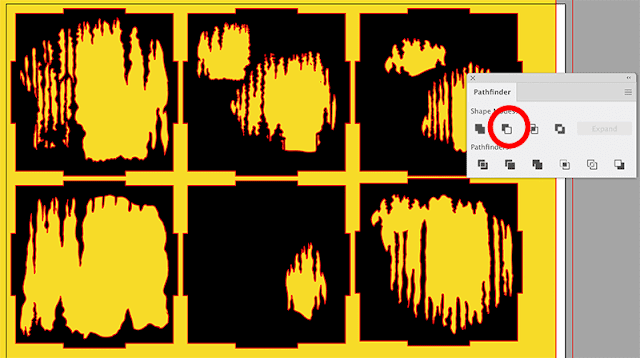 |
| Here we are almost all done... |
 |
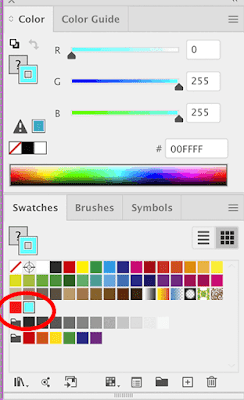
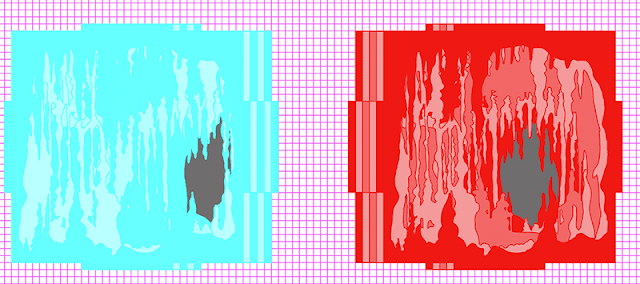
| Now the fun begins. I have coloured these 100% RGB Red (255, 0, 0). Then switched to HSB, which allows me desaturate the colour without changing it. You can of course do this other ways. I'm using peak red as this is a colour that disappears nicely on cheap anaglyph glasses. Note; Illustrator works in CMYK by default. Switch the document to RGB! |
 |
| So, make a copy on another layer and repeat the process. This time we are using Cyan as it is the complimentary to Red. Personally, I think Green works better, but you have to have Red/Green anaglyph glasses and they are harder to find. Cyan has issues- which I might do another blog post on at some time. (Grief this is taking me back to my first trip to art school where I first did experiments in stereoscopy..) Here's me stroking the paths. |
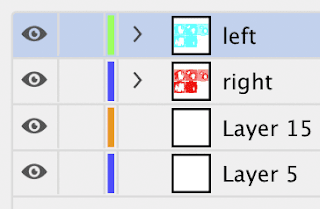 |
| Here's a peek at the Illustrator layers. Doesn't matter much which way around they are. |
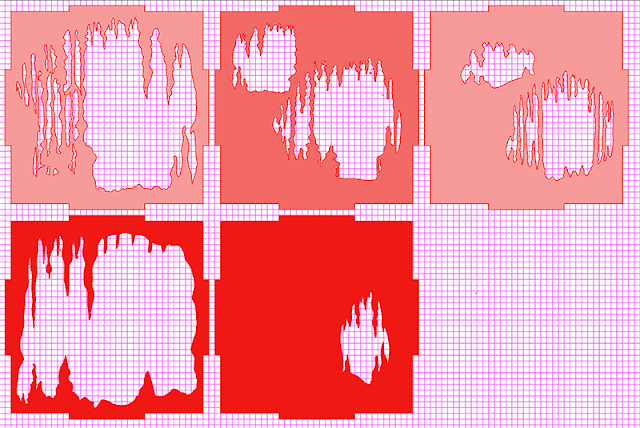 |
| When you have done this, stack one channel on top of each other, despite this being the red, I stacked the blue because they are harder to see. |
 |
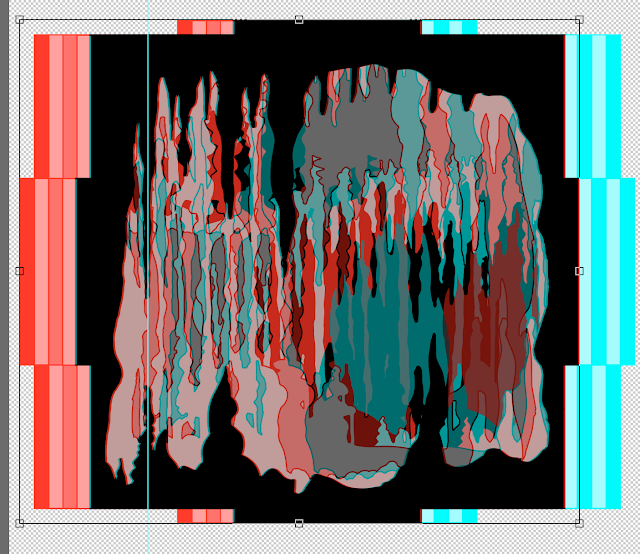
| Here they are stacked. And HERE IS THE TRICK that will make them three dimensional. The stacks are slightly offset as you can see in this picture. here I've exaggerated the offset. In the working one it was much smaller and I experimented with different settings. I also swapped colours around, altered densities and so on. Probably about twenty experiments in all. But it's the offset that creates the illusion. You should also not that what works nicely at phone size may not work well at desktop or projection. |
 |
| Once this has been done, open the Illustrator file in Photoshop. I use quite a high resolution, it's easy to downsize if you need to. You can see that Photoshop automatically flattens the file. |
 |
| In Photoshop, copy one colour to a layered then align. You will need to experiment with this. Basically where the two layers align completely becomes the screen level. Other layers will appear on top or below this. What I do is just sit and tinker until it looks right. |
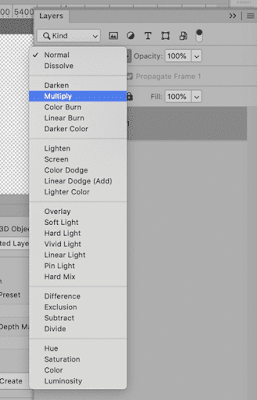 |
| Very important!! Set the top layer to the Multiply setting in the blend menu in Layers. This simulates overprinting and the effect of transparent ink. Without this, you won't get the effect. Incidentally, you wouldn't do this is you wanted to print the image. This is for screen use. |
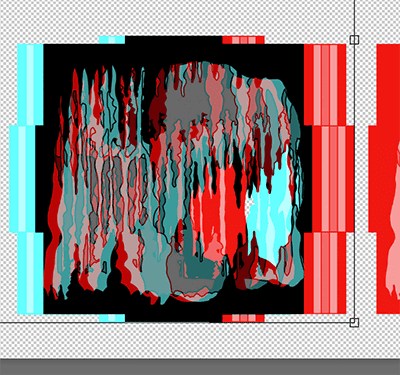 |
| Here's more-or-less the final version in Photoshop, at least, the technically final version, it's working now. You'll notice that I've swapped the cyan and red around so that it works with the glasses I have; although I could have simply worn the glasses around the other way. |
And that's it, just about. Start simple, amuse yourself. Then you can go for more complex stuff.
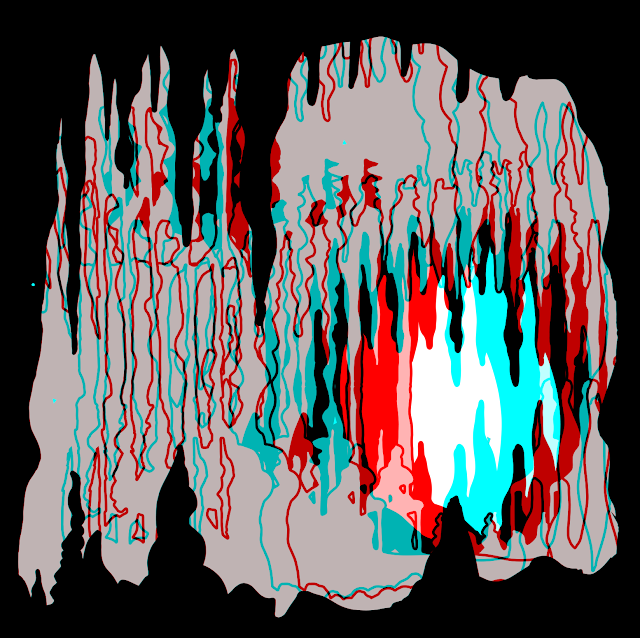 |
| this is the other version. I think the shaded version works bette, although there's an issue with the blue/cyan colour as the shading is very difficult to see. |


No comments:
Post a Comment